
Estimate — User Manual
A collaborative tool for estimating projects using complexity points and hour anchors.
1. Introduction
Estimate helps project teams answer the hardest question in the business: “How many hours will this project take?”
Instead of asking everyone to guess hours directly, Estimate uses a two-step method that is much more reliable:
- Relative complexity — several estimators independently rate each work package on a complexity scale (from Trivial to Near impossible). People are far better at comparing tasks than at predicting hours.
- Hour anchor — each estimator gives a real implementation-only hour estimate for just one well-understood work package (their most complex Overseeable one). This single calibration point converts complexity points into implementation hours for the whole project.
The project manager or team lead then reviews all opinions side by side, decides a final complexity per work package, and gets a calculated total for the entire project.
2. Getting started
Registering your company
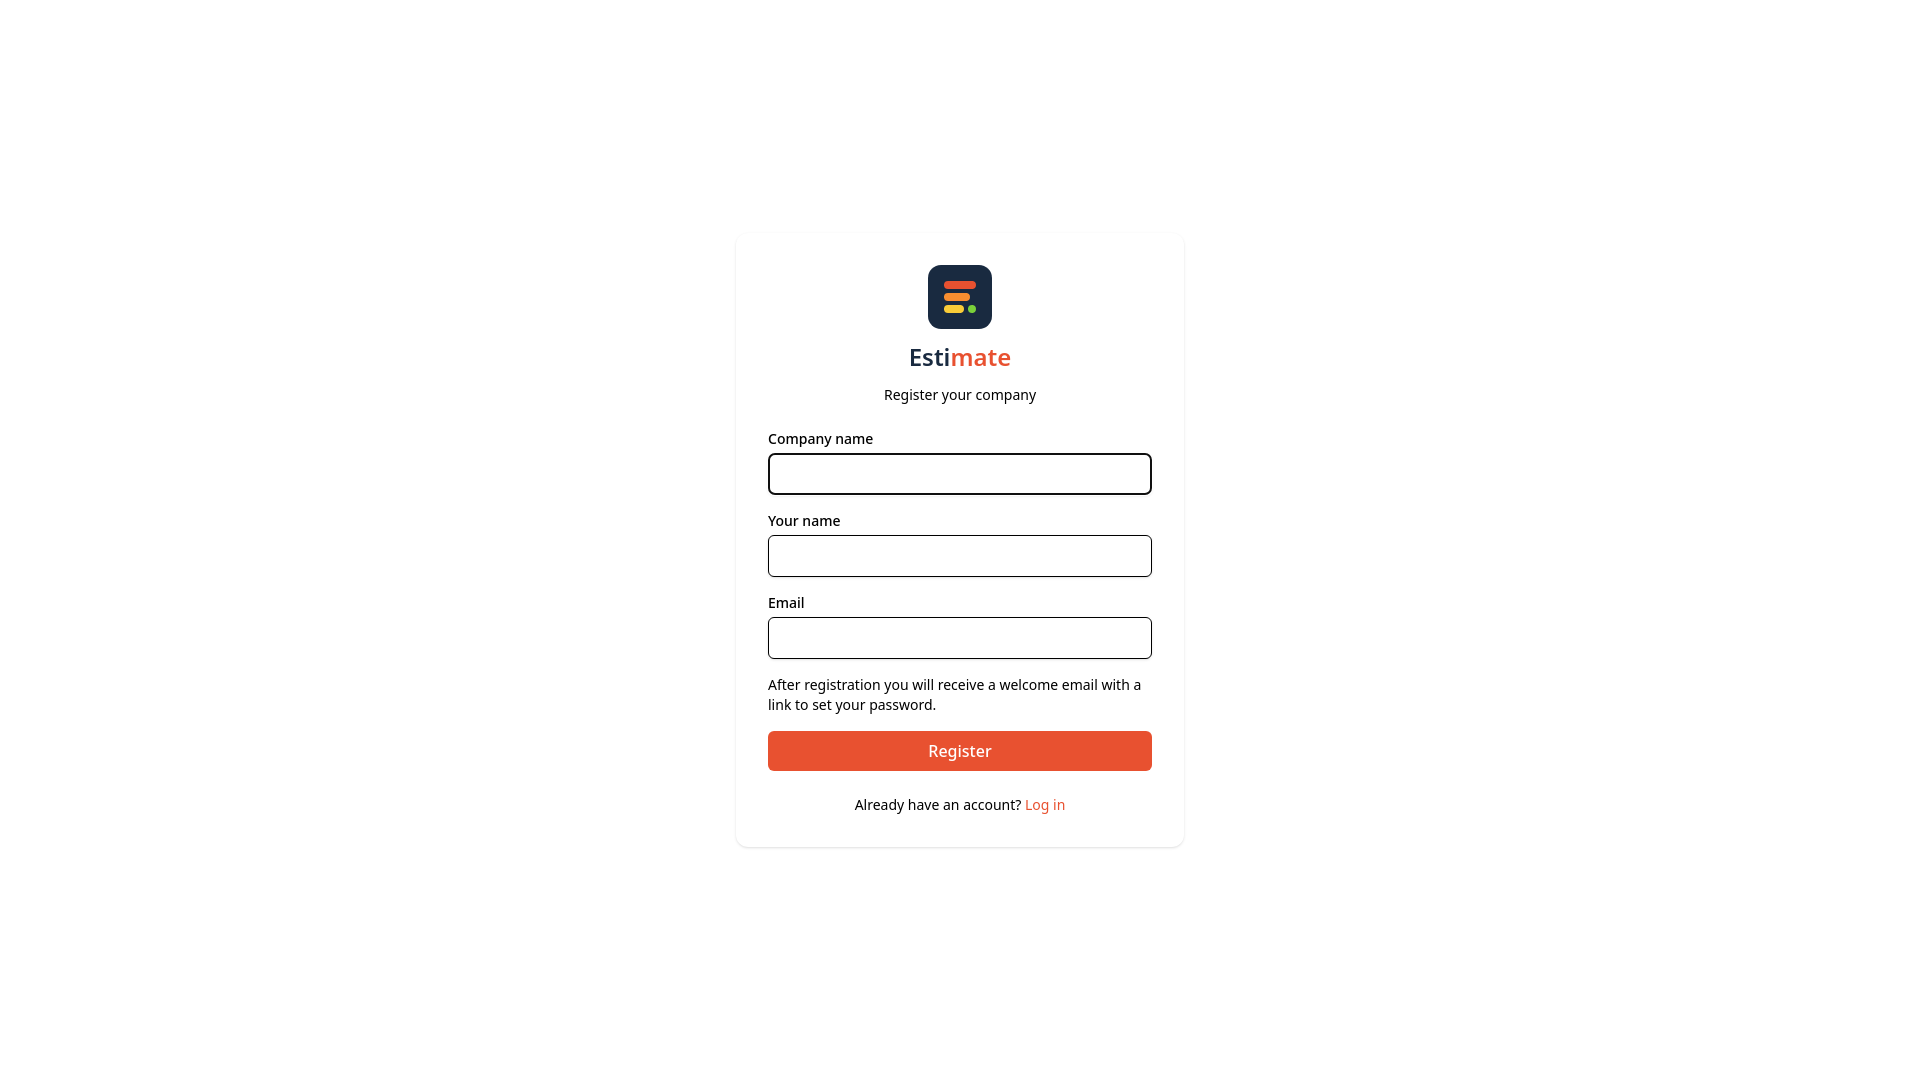
Estimate is organised around companies. The first user registers the company and automatically becomes the company owner.
- Open the application and click Register your company on the login page.
- Fill in your company name, your own name and your email address.
- Check your inbox: you will receive a welcome email with a link to set your password.
- Set your password and log in.
Logging in
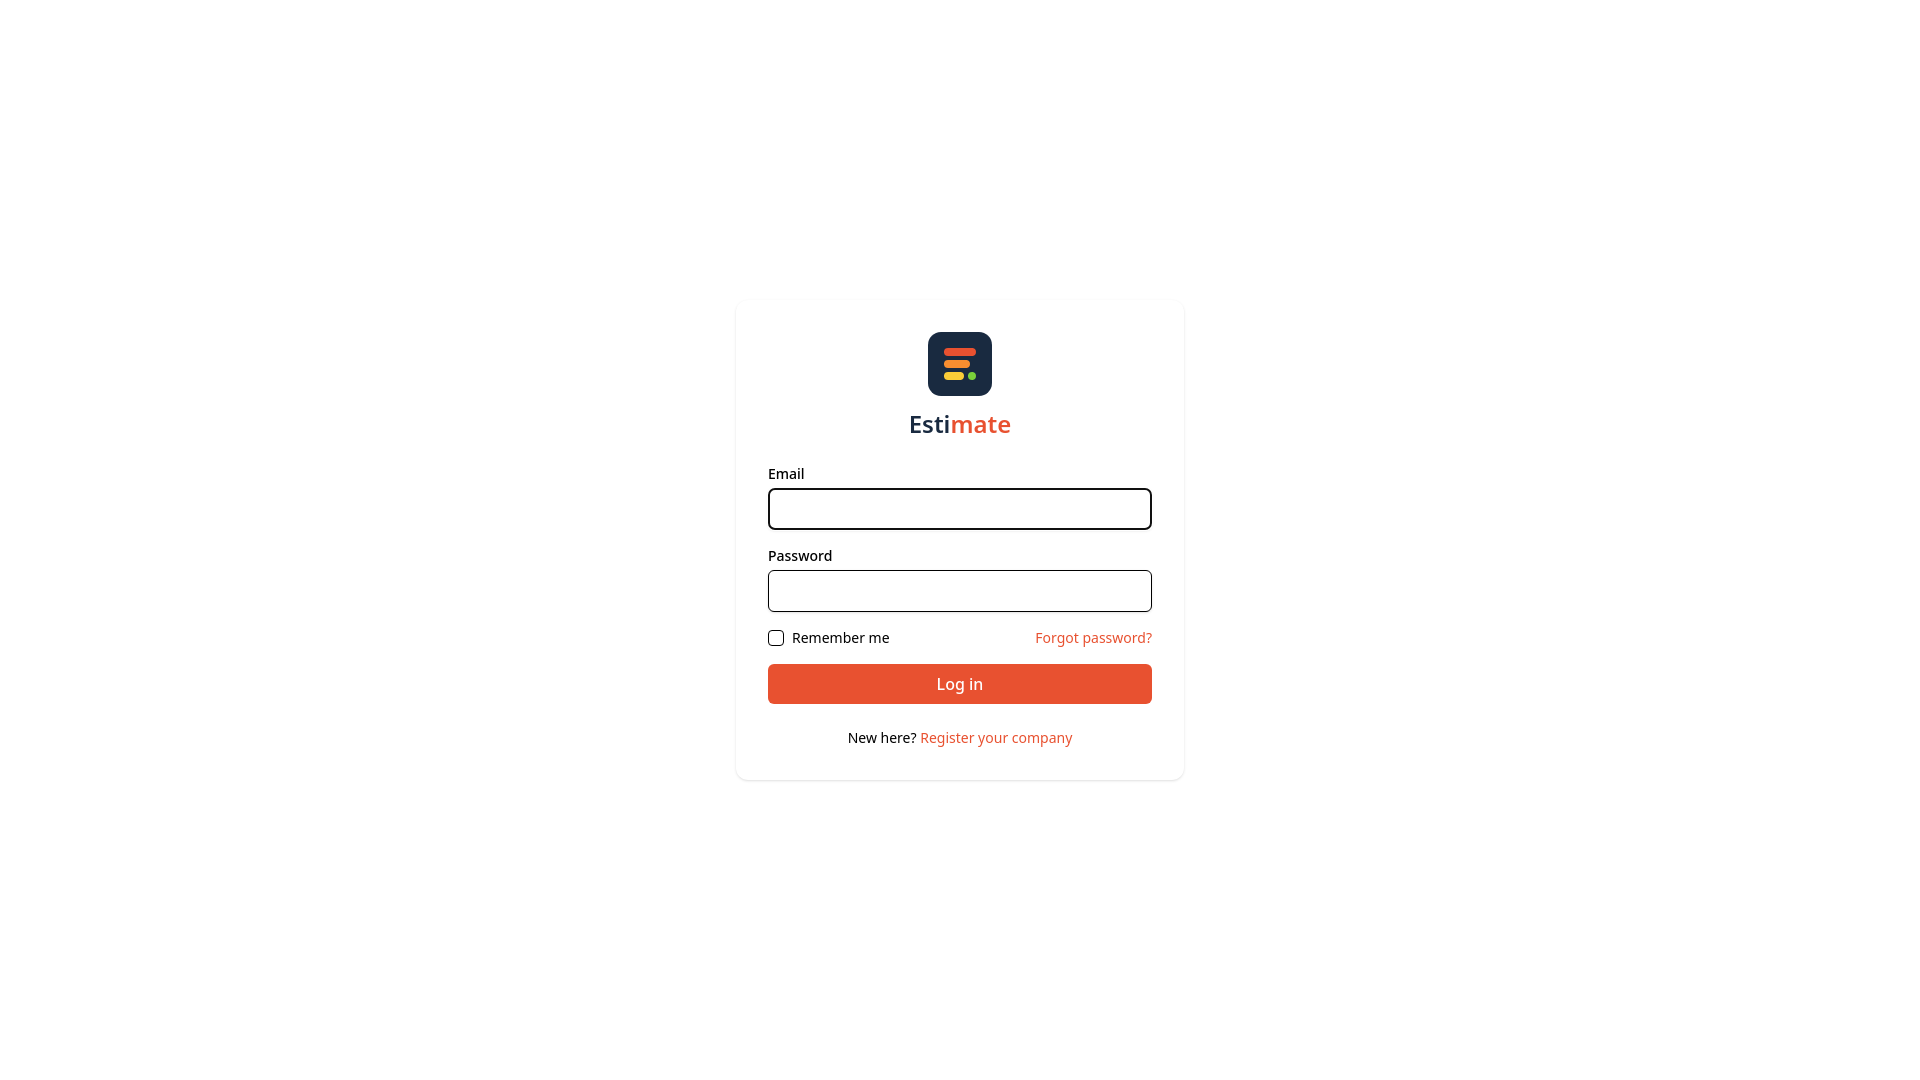
Log in with your email address and password. Use Forgot password? to request a reset link at any time.
3. Roles & permissions
Every user has one role that determines what they can do:
| Role | Description | Can do |
|---|---|---|
| company | Company owner — created when the company registers. | Everything within the company: manage users, create/edit/delete projects, review estimates. |
| pm | Project manager. | Create projects; manage and review the projects they are assigned to. |
| lead | Team lead. | Manage and review the projects they are assigned to. |
| estimator | Estimator. | Fill in complexity estimations for projects they are invited to, via a personal link. |
4. Managing your team
As the company owner, open Users in the navigation bar to manage your team members.
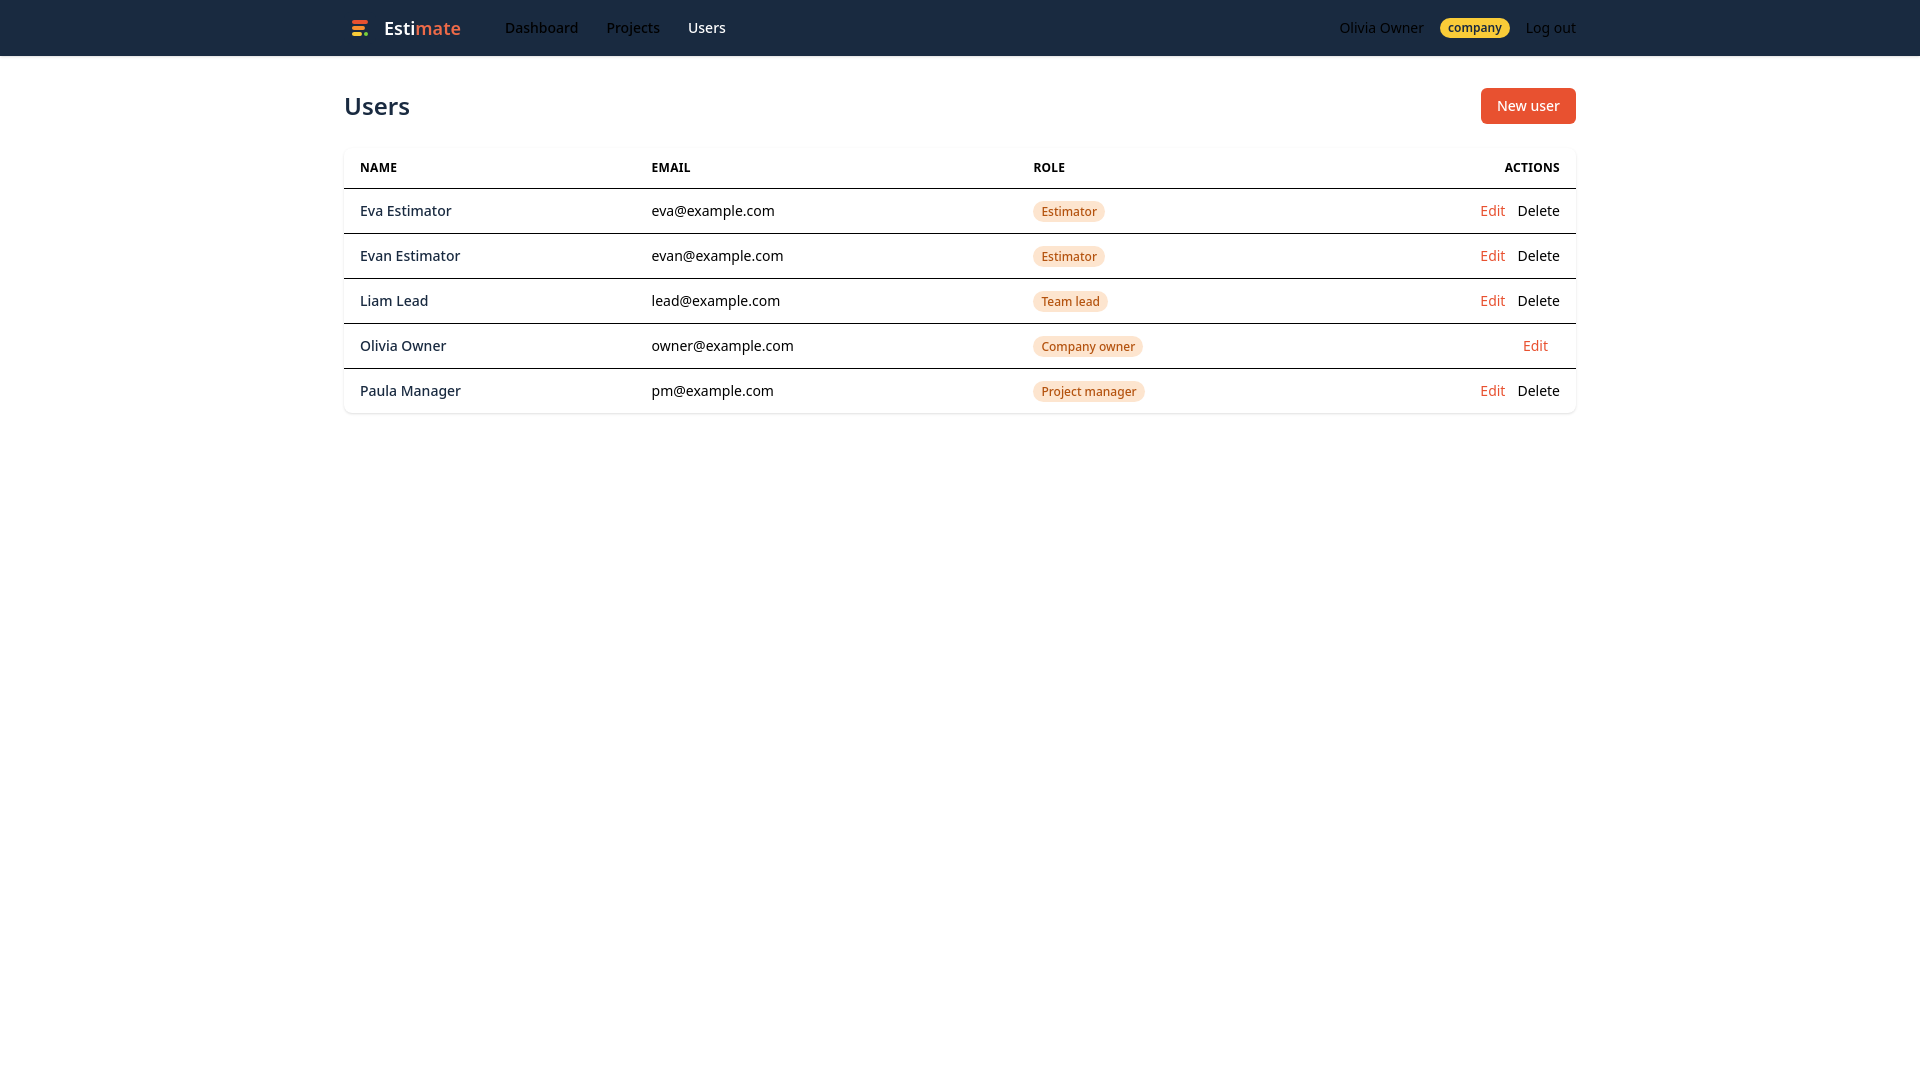
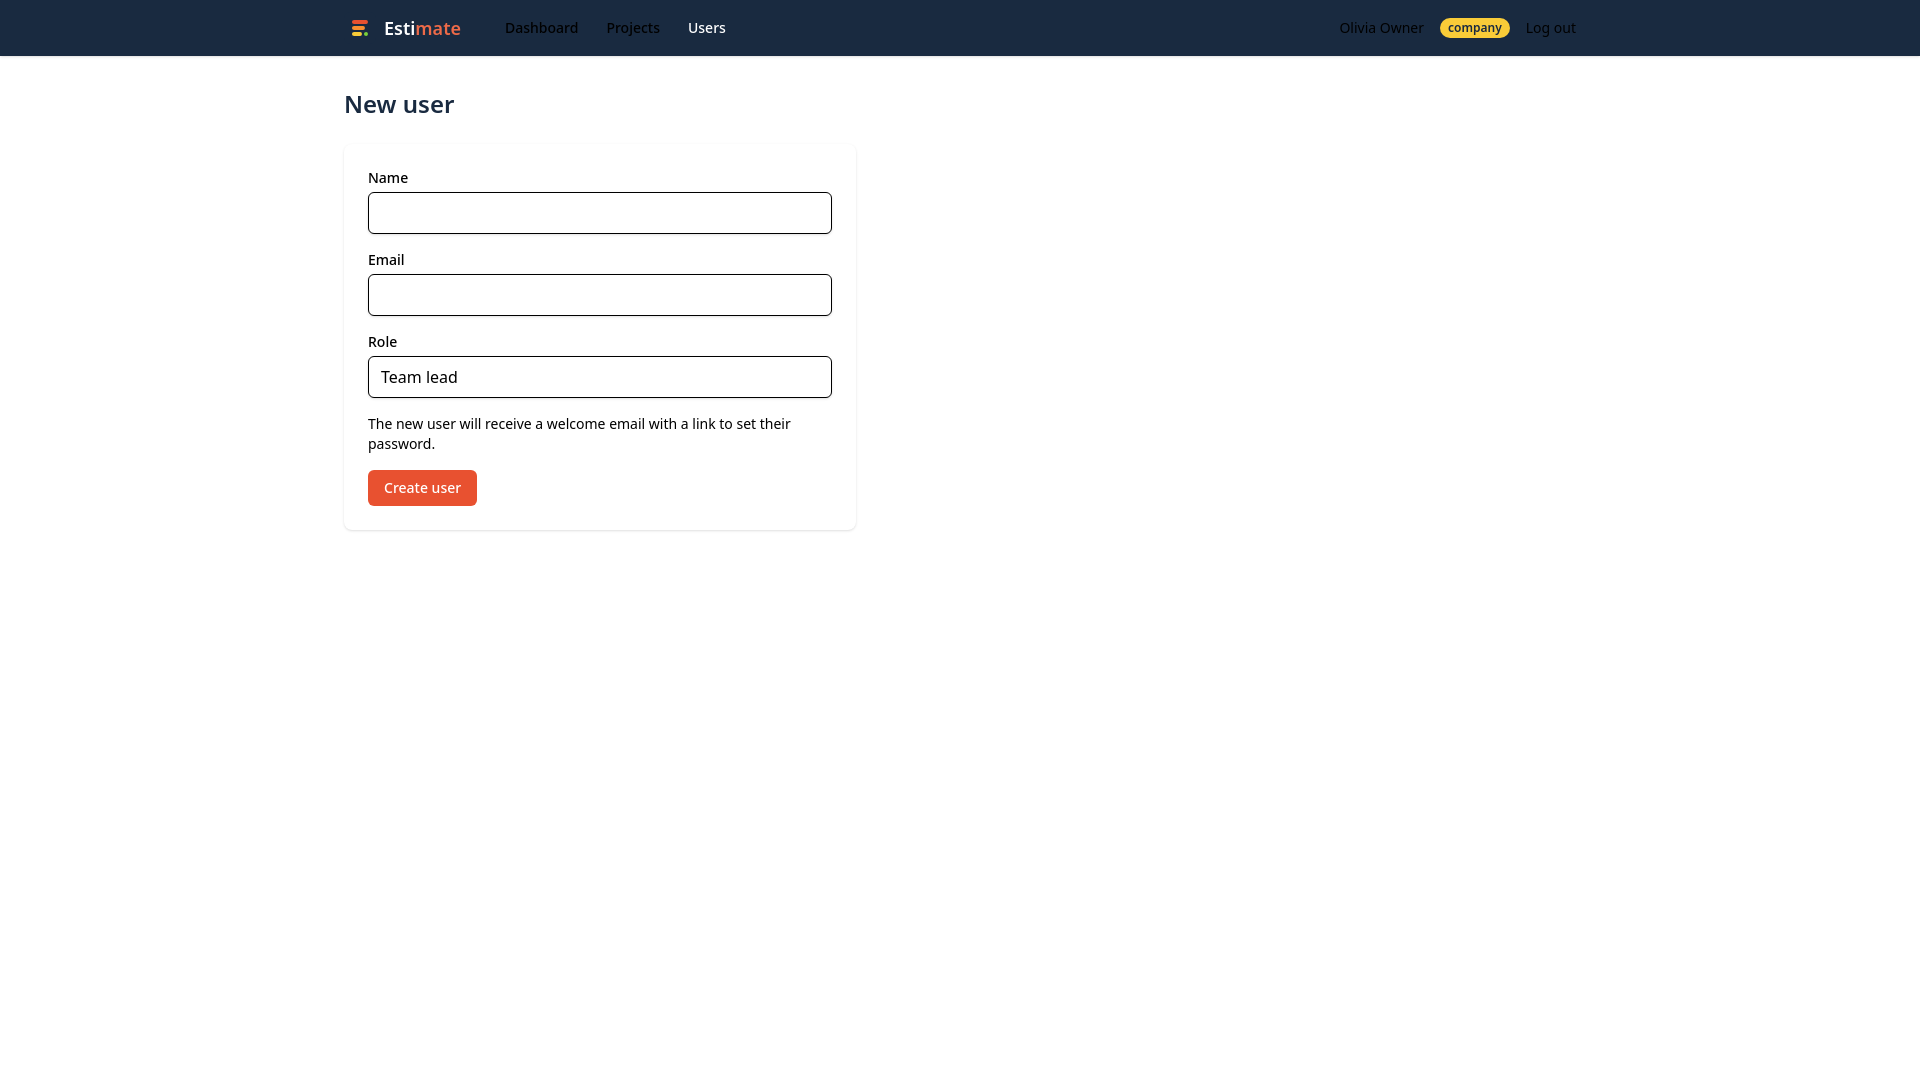
Click New user to add a team member. Choose their role and submit — the new user receives a welcome email with a link to set their own password. You never need to share passwords.
5. The dashboard
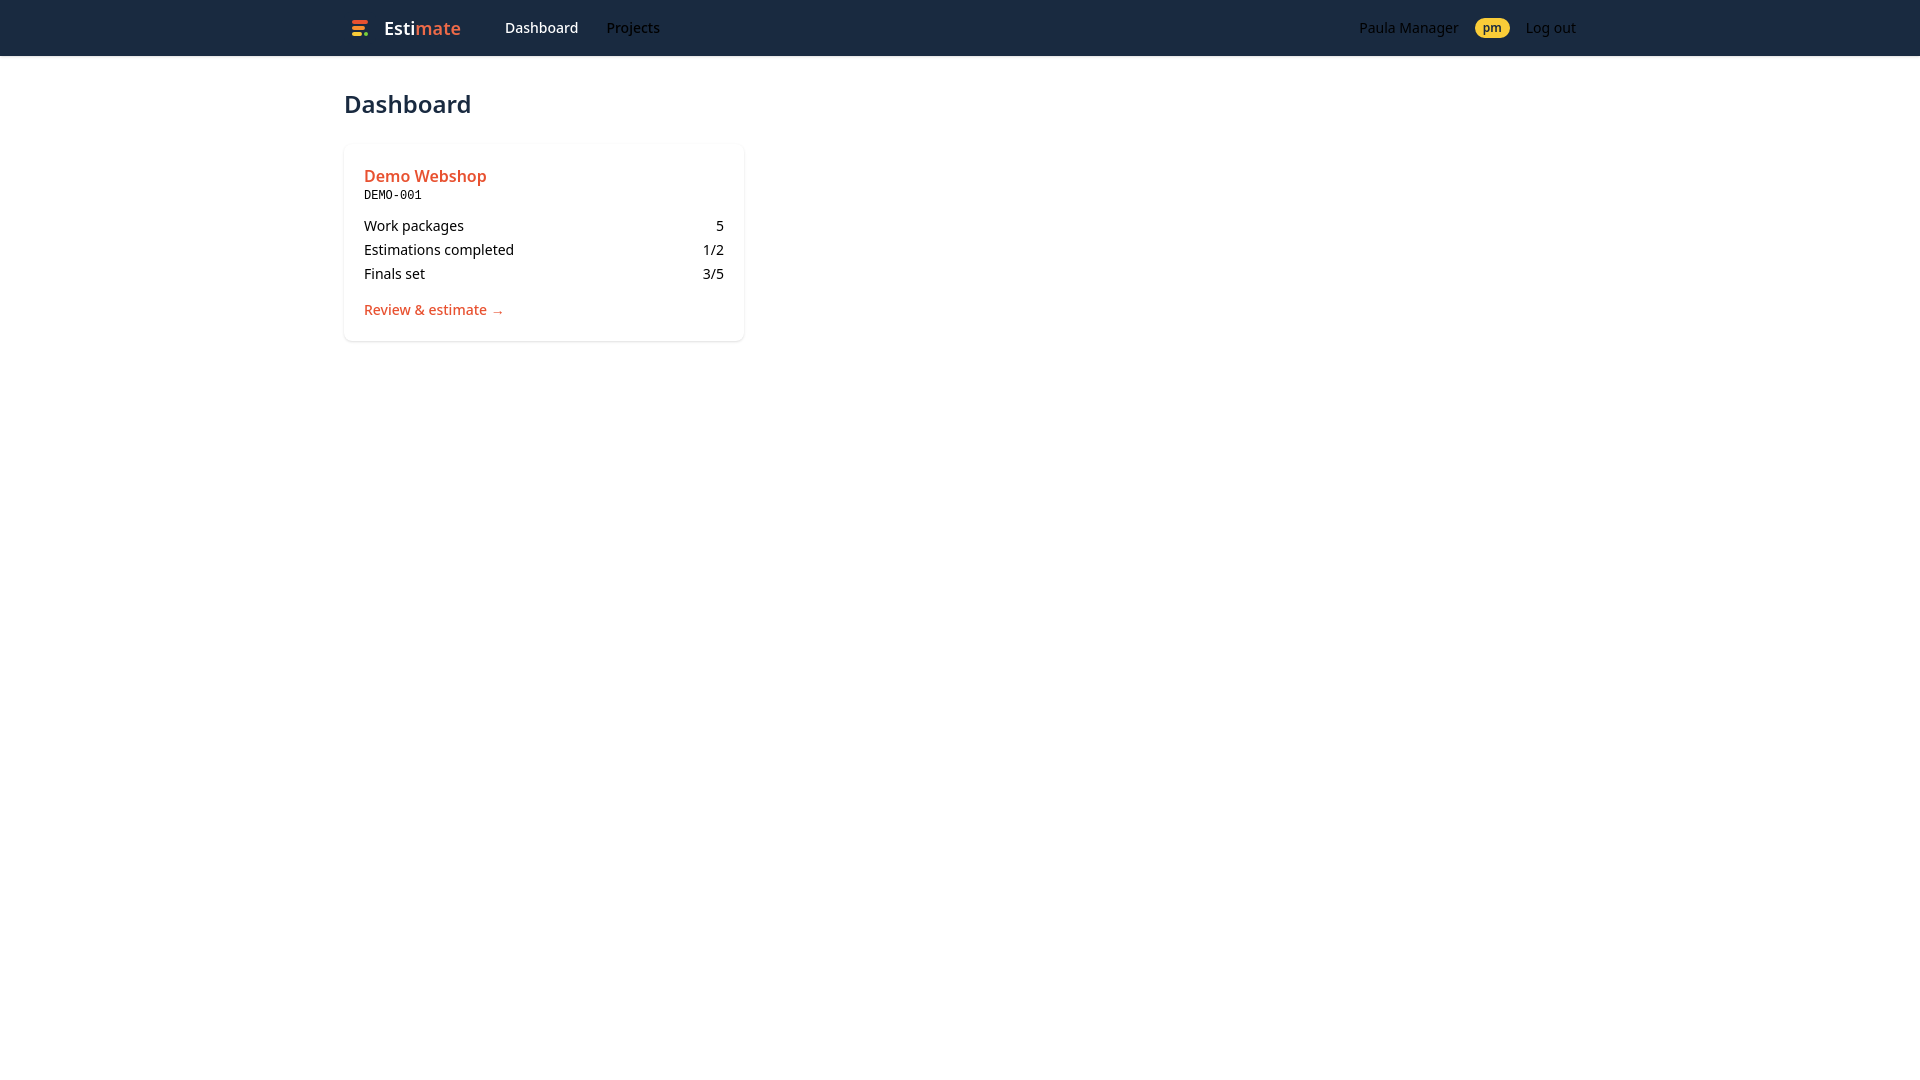
After logging in you land on the dashboard. It shows, depending on your role:
- My estimations — invitations addressed to you, with a link to continue estimating.
- My projects — projects you manage, with live counters: work packages, estimations completed and finals set.
6. Creating & managing projects
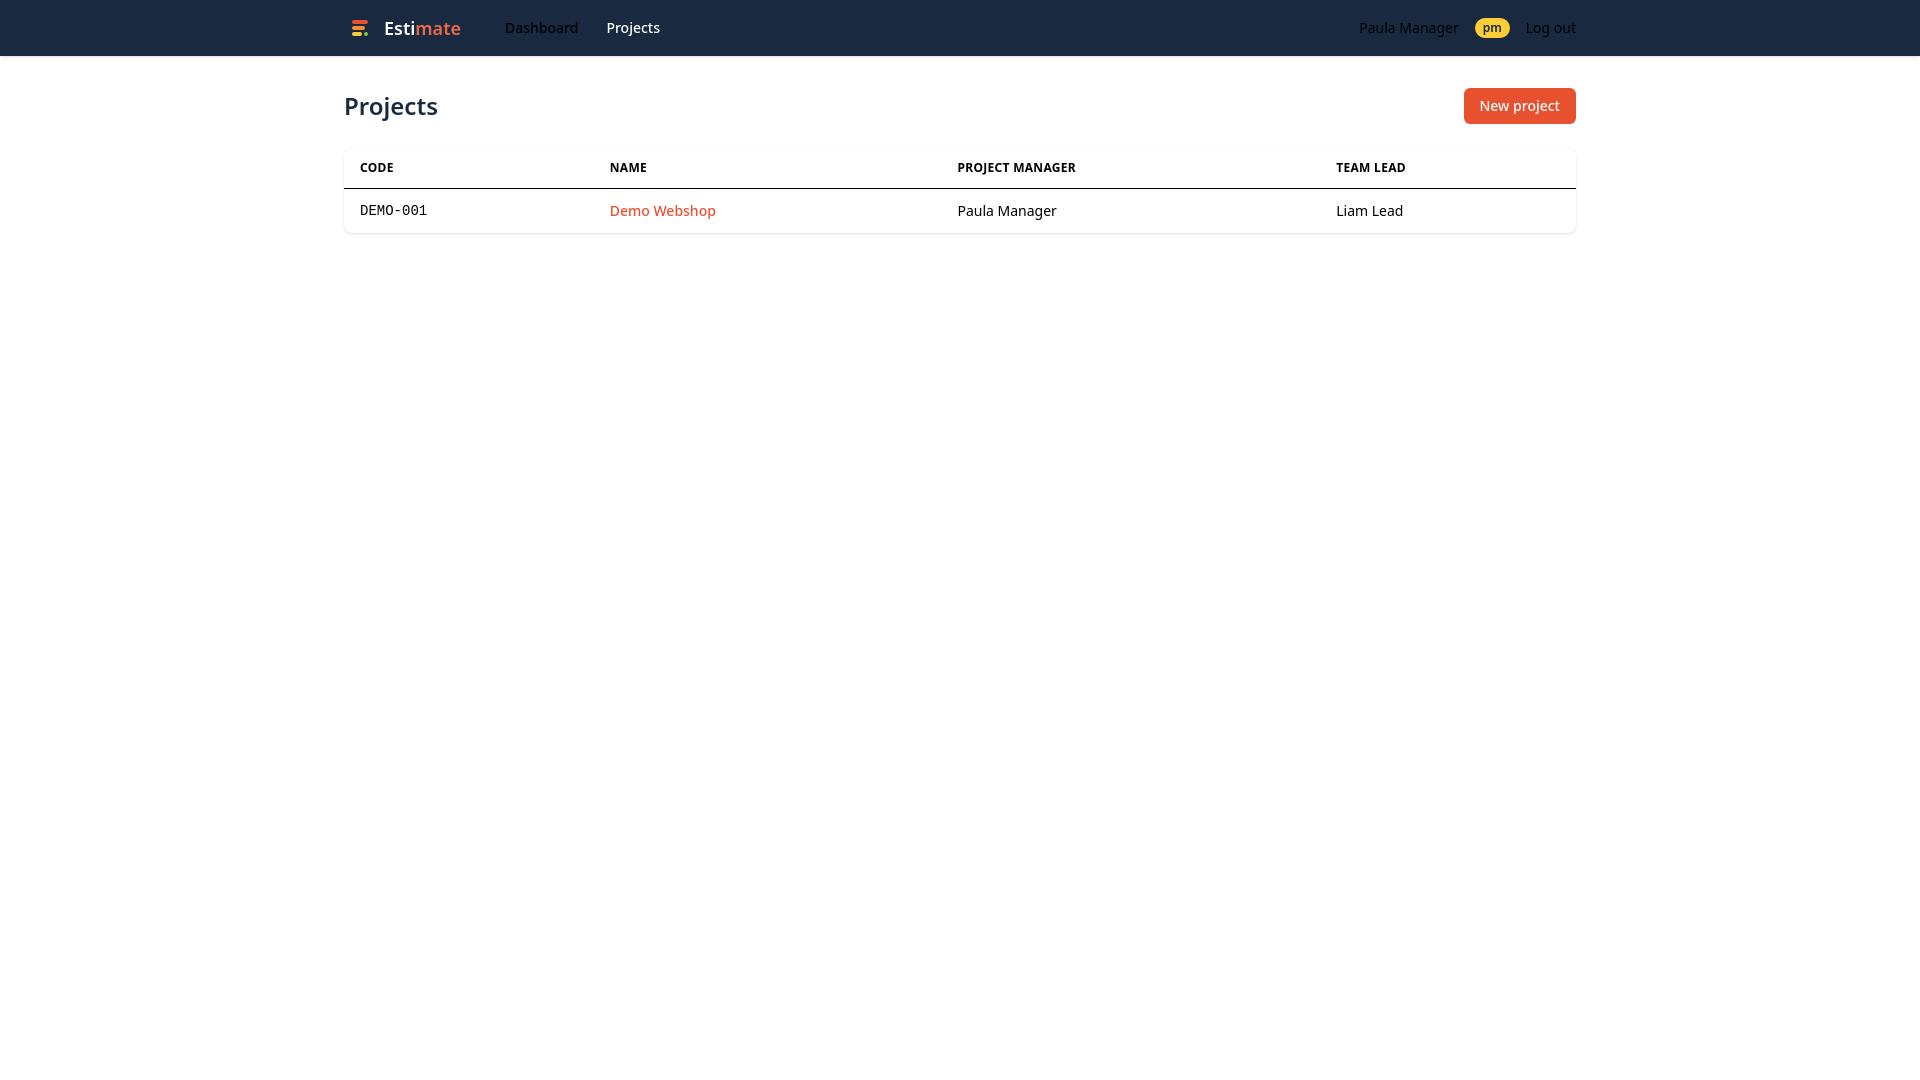
Open Projects in the navigation bar for a list of all projects you have access to.
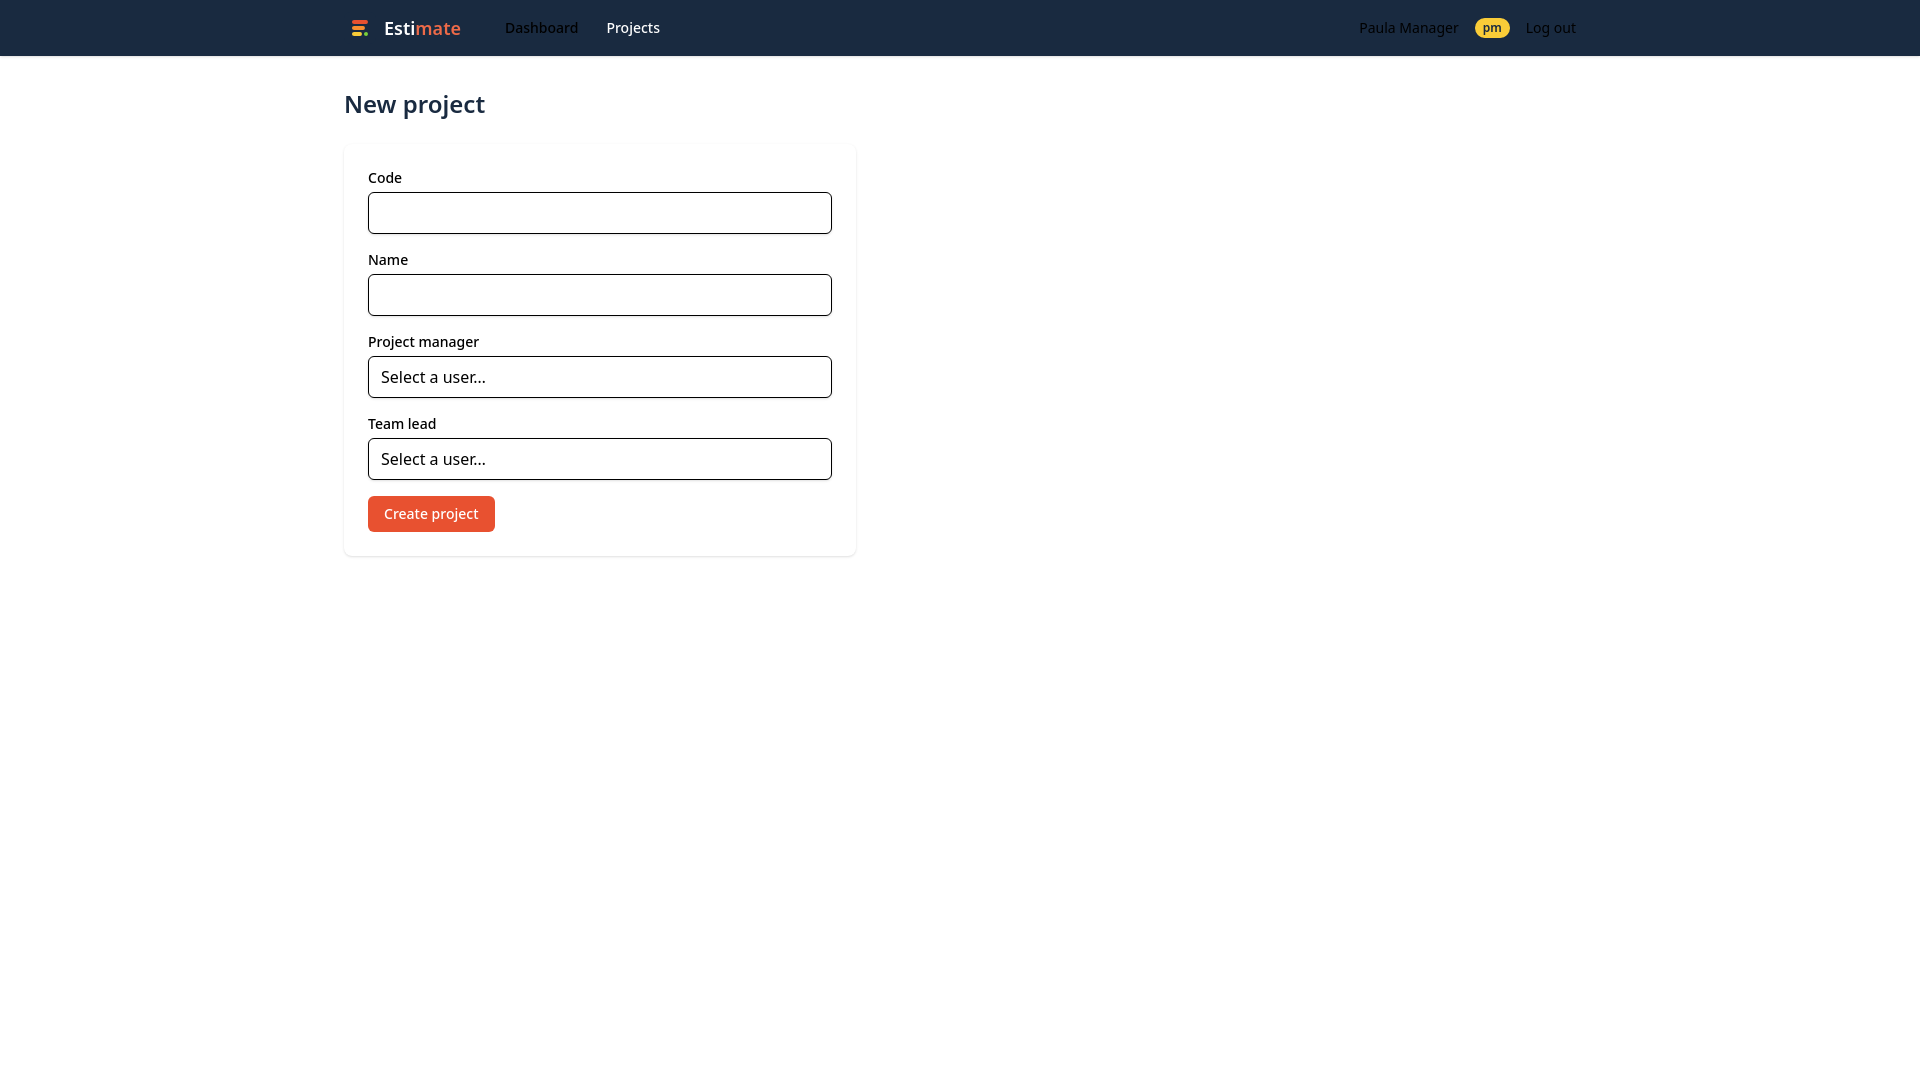
Click New project and fill in:
- Code — a unique short project code (e.g.
DEMO-001). - Name — the project name.
- Project manager and Team lead — the two people responsible for the project. Both can edit and review it.
7. Work packages & invitations
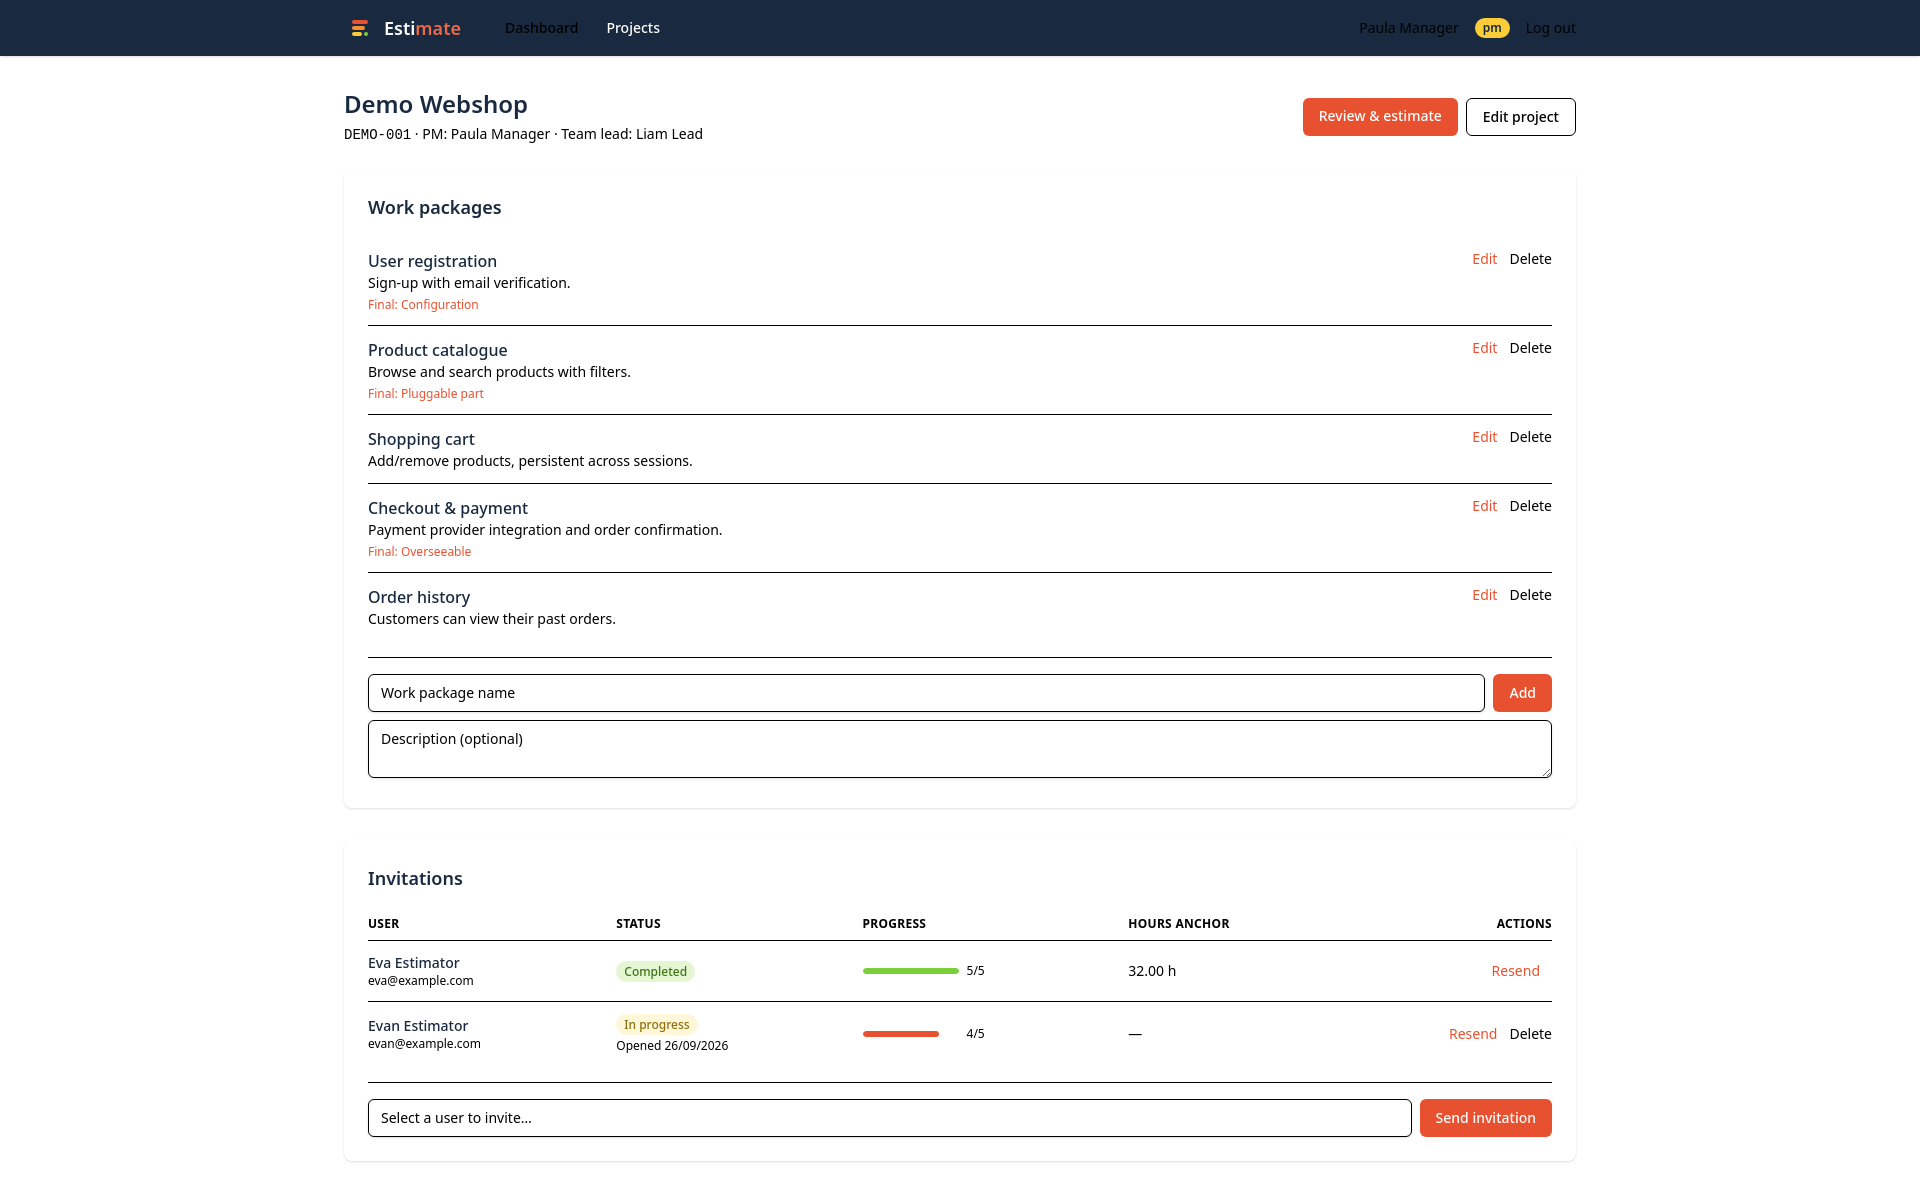
Open a project to reach its detail page. This is your control centre for the whole estimation process.
Work packages
Break the project down into work packages: deliverables or pieces of work that can be judged independently, such as “Site preparation”, “Supplier onboarding” or “Customer delivery”. Add them with the form at the bottom of the list — a clear description helps estimators a lot. Each package can be edited or deleted inline.
Inviting estimators
In the Invitations section, pick a user from the dropdown and click Send invitation. The estimator receives an email with a personal estimation link. A project can have up to 4 estimators.
The table shows for each invitation:
- Status — Completed, In progress (with the date it was first opened) or not yet opened.
- Progress — how many work packages the estimator has rated.
- Hours anchor — the hours they entered for their anchor package (after completing).
- Resend — send the invitation email again; Delete — remove an invitation that has not been completed.
8. Estimating (for estimators)
As an estimator you receive an email “Invitation to estimate” with a personal link. No login is required — the link is your access key, so don’t share it.
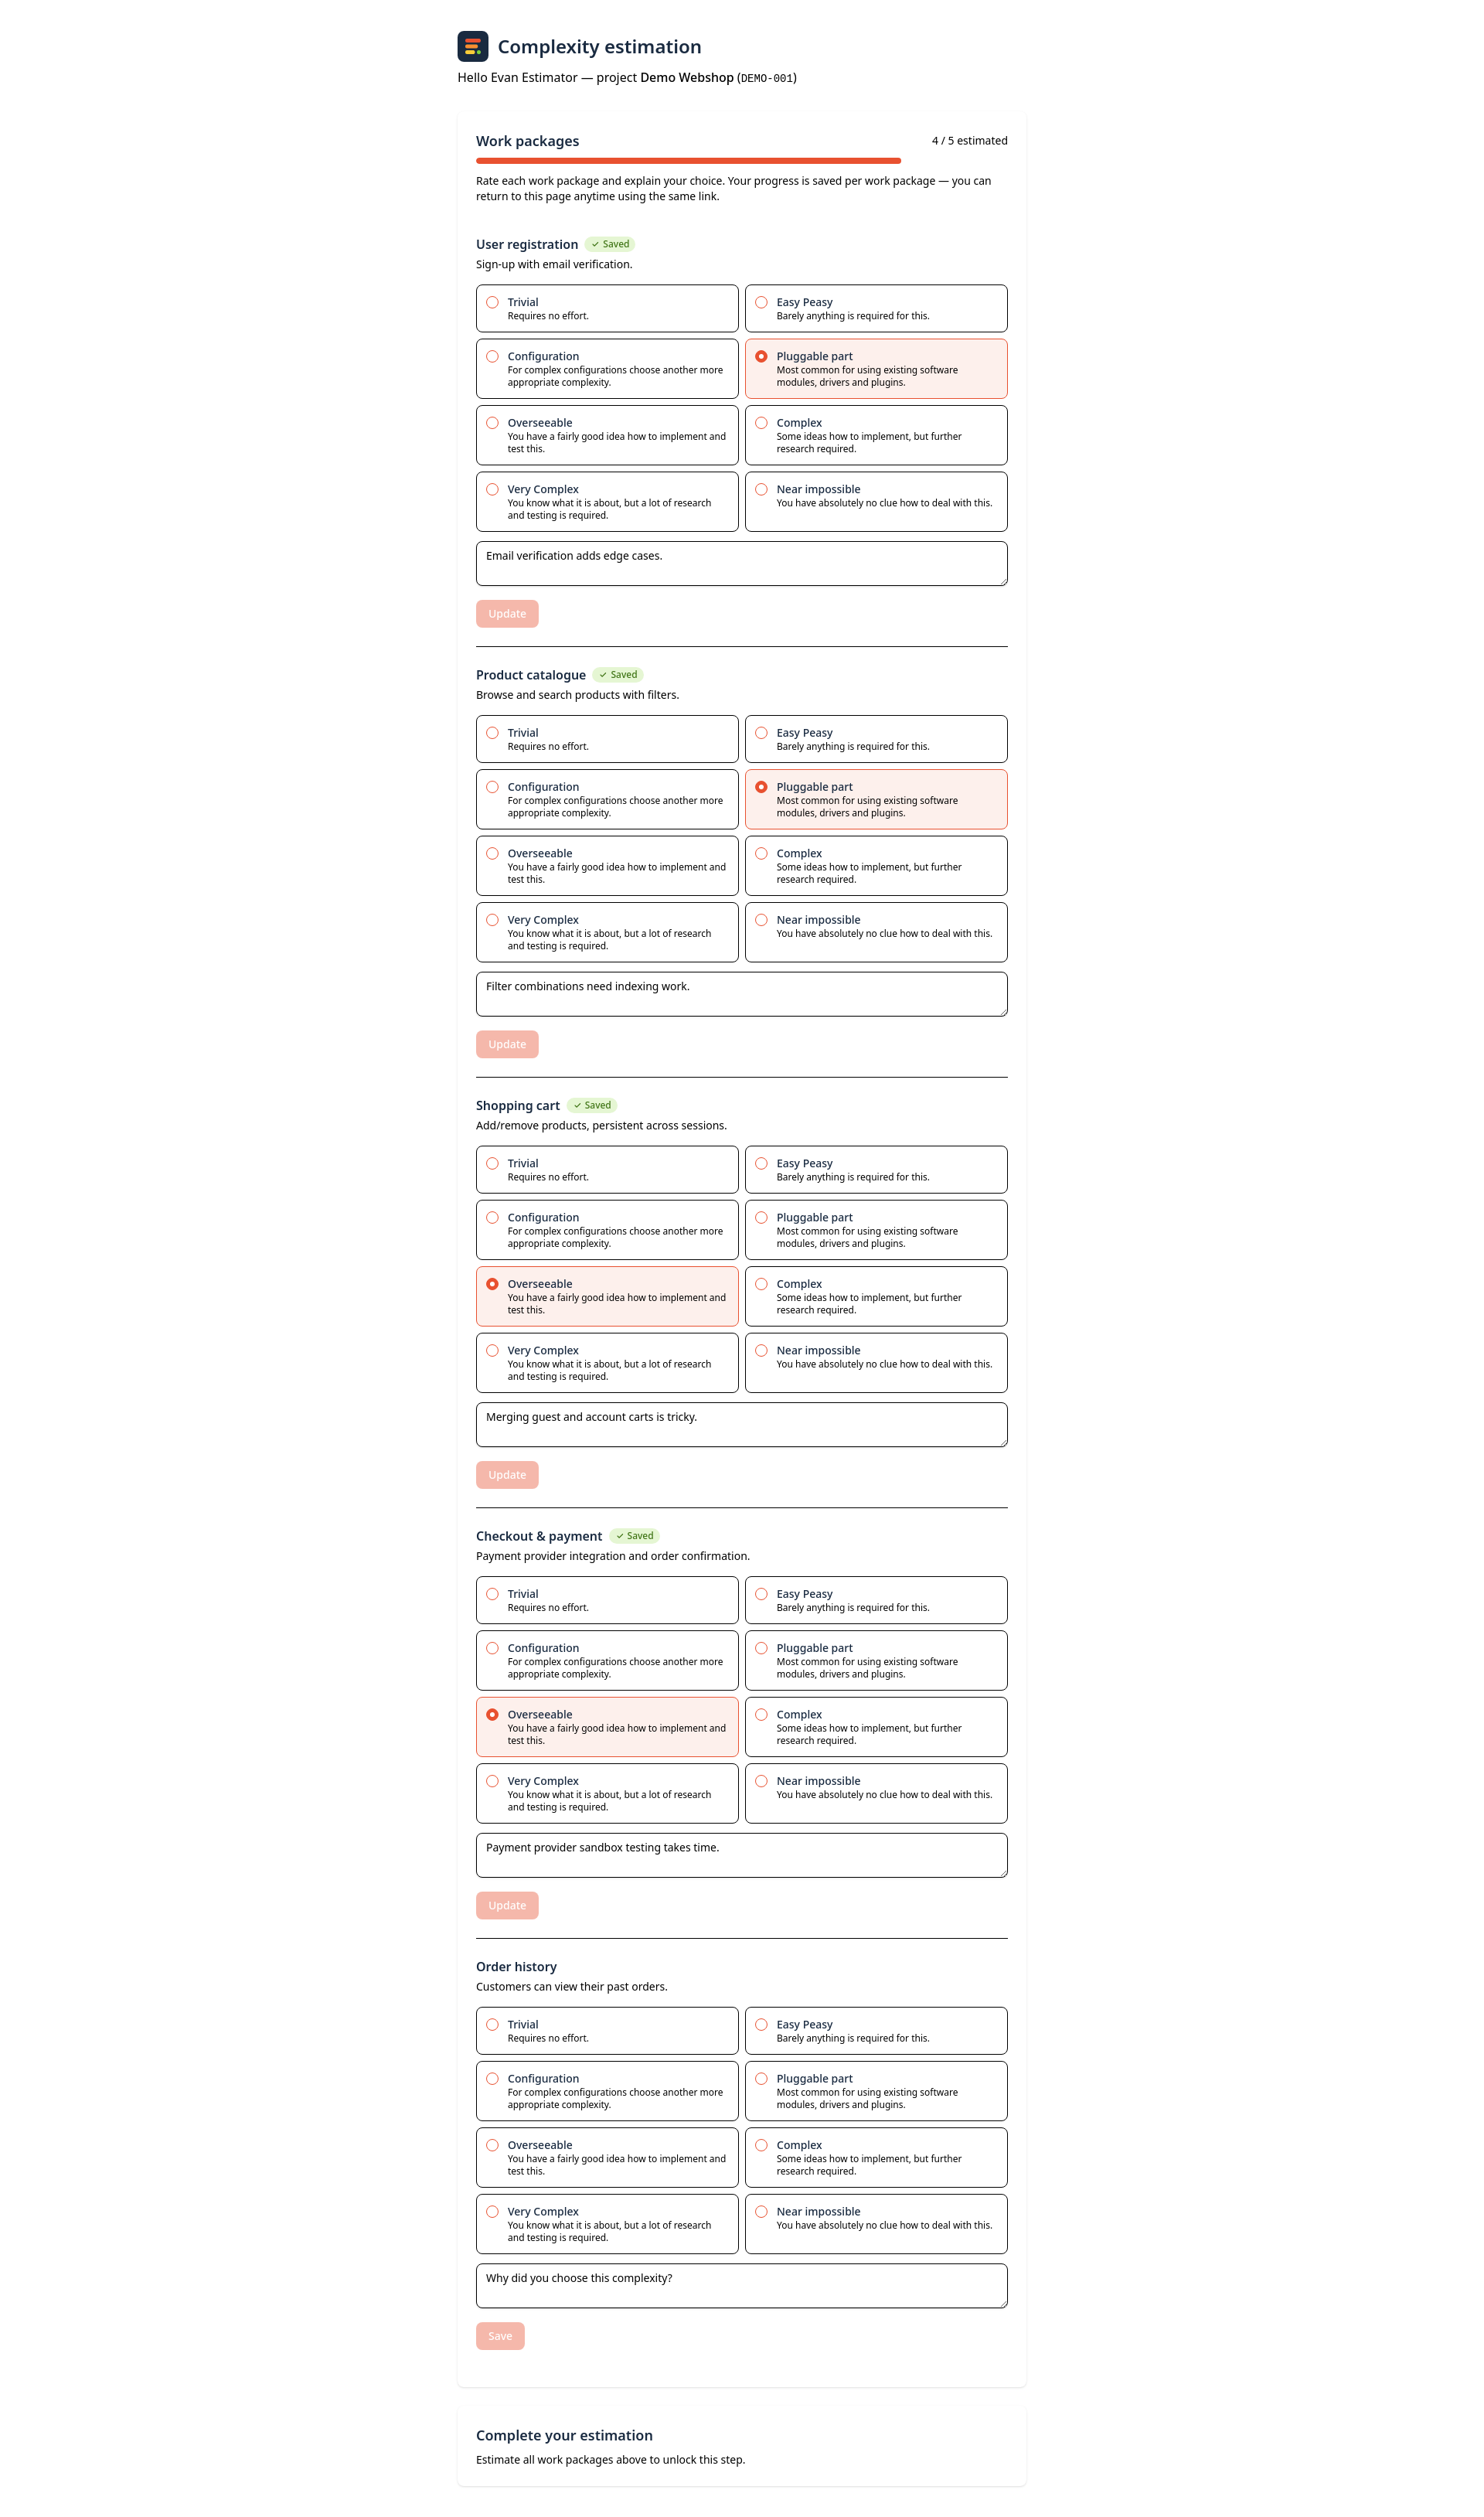
- Open the link. You see all work packages of the project with a progress bar on top.
- For each work package, choose the complexity level that fits best and briefly explain your reasoning. Every rating is saved individually with its own Save button — you can stop and come back later.
- Once everything is rated, answer the final question: which of your ‘Overseeable’ work packages is the most complex?
- Enter the number of hours you would need to implement that specific work package. Include implementation only: do not include testing or documentation.
- Click Complete. Your estimation is now locked and the project manager can see your results.
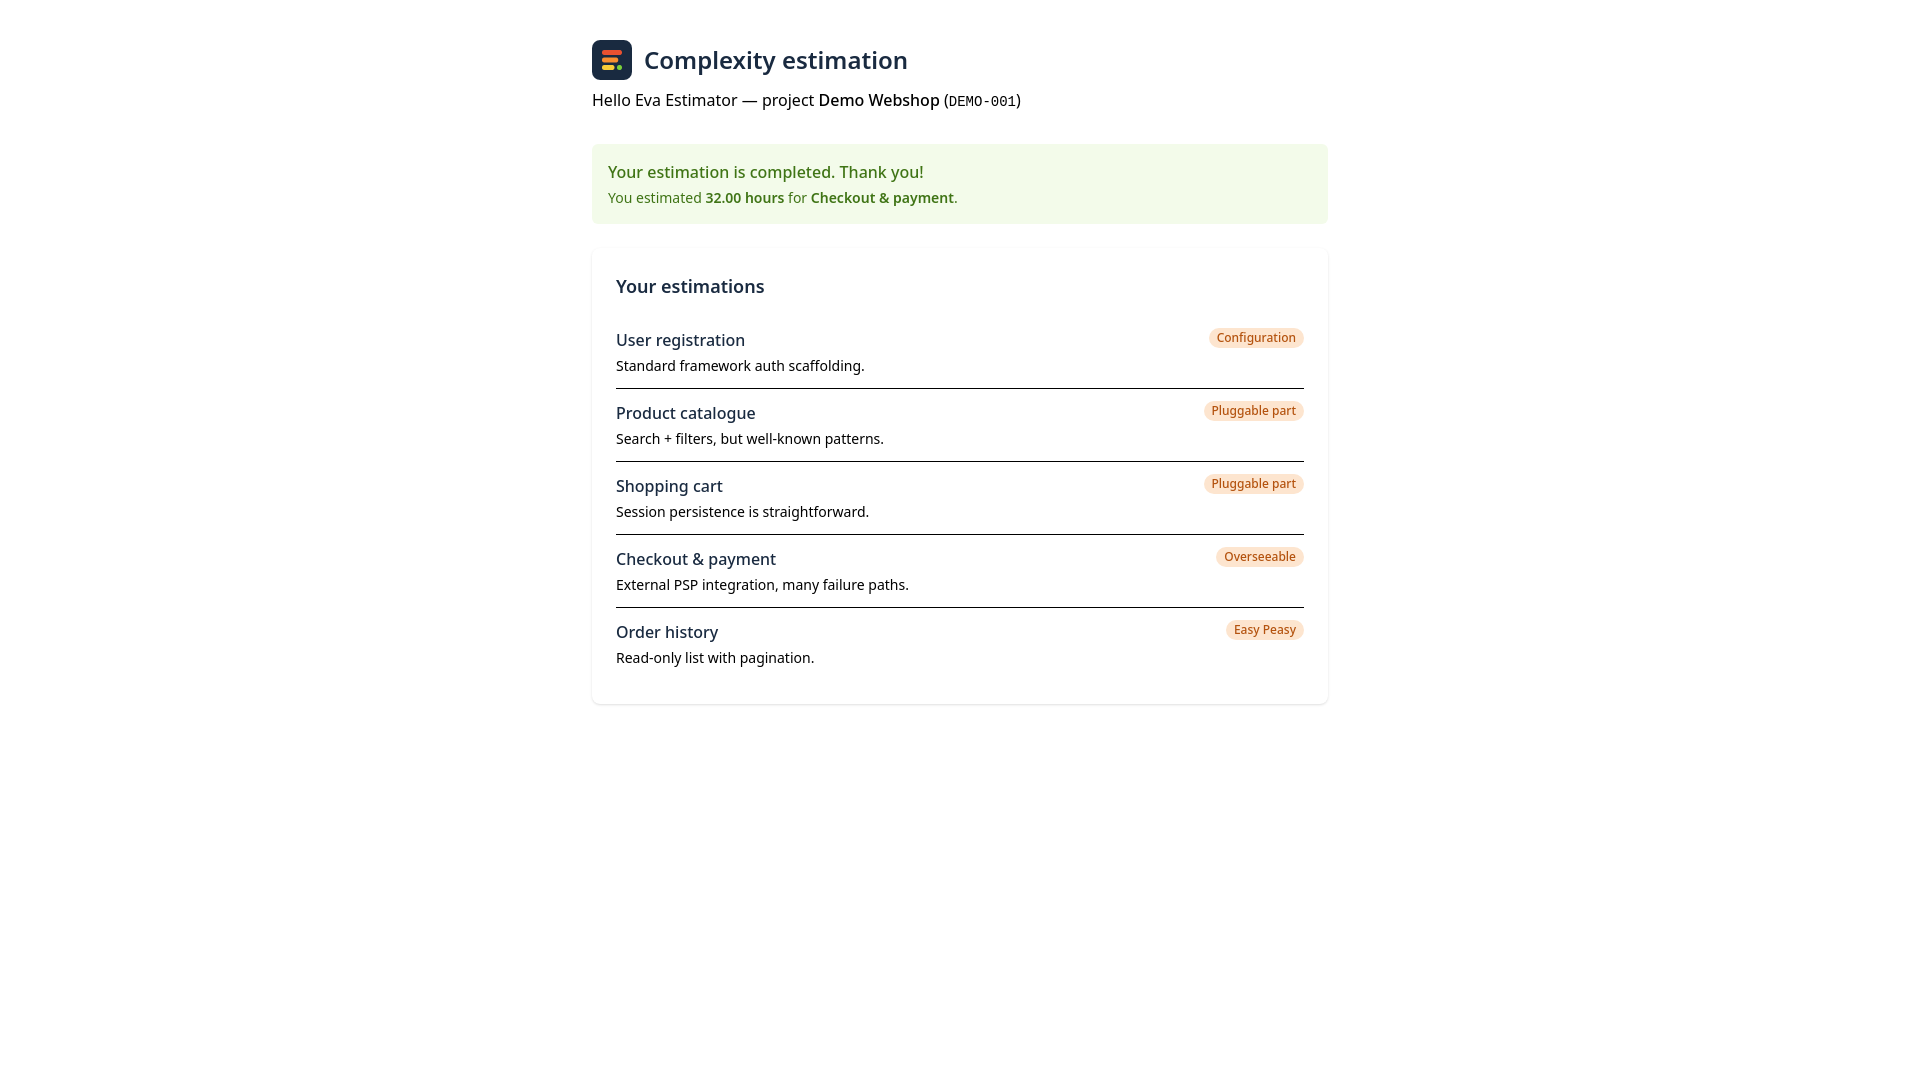
After completing you see a read-only summary of everything you submitted:
9. Review & the final estimate
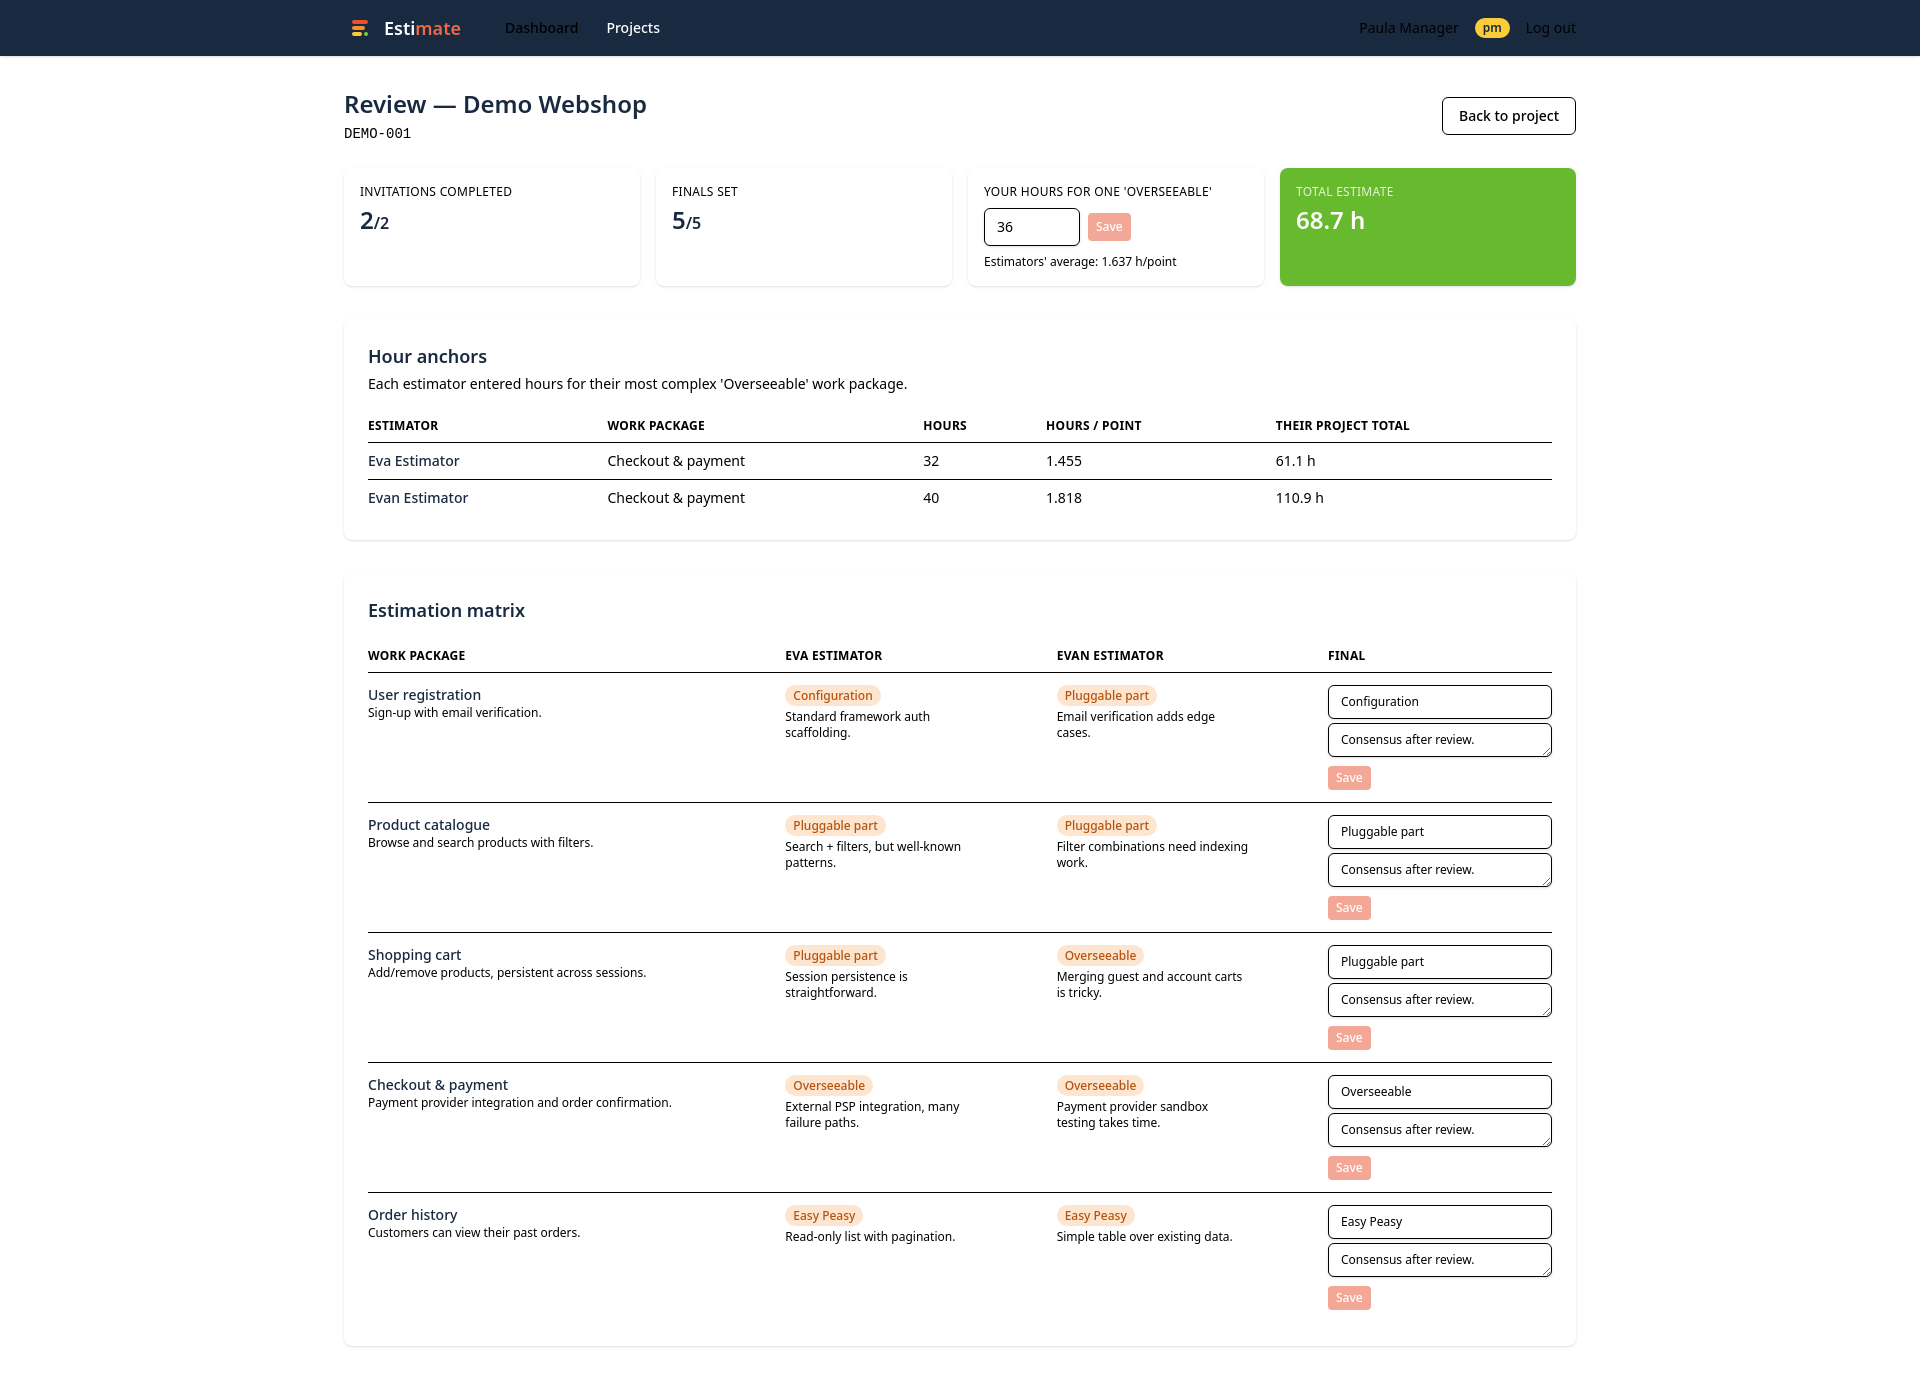
As project manager or team lead, click Review & estimate on the project page or dashboard. This page brings everything together:
The estimation matrix
Each row is a work package; each column an estimator. You see everyone’s complexity choice with their explanation, so differences of opinion are immediately visible. In the Final column you decide the definitive complexity per work package (optionally with an explanation) — for example after a short discussion with the team.
Your own hour anchor
In the card “Your implementation hours for the most complex ‘Overseeable’ package” you enter how many hours you would allow for implementation of the most complex ‘Overseeable’ work package — the same definition the estimators use. The estimators’ average anchor (in hours, with the range when there are several estimators) and the percentage difference from your value are shown next to it.
The total estimate
As soon as all invitations are completed, all finals are set and your implementation anchor hours are filled in, the Total estimate (all work) card turns green. It shows implementation hours doubled for testing, plus 10% documentation.
10. The complexity scale
Estimate uses a fixed, strongly non-linear scale. The large jumps are intentional: uncertainty grows exponentially with complexity.
| Level | Points | Meaning |
|---|---|---|
| Trivial | 0 | Requires no effort. |
| Easy Peasy | 1 | Barely anything is required for this. |
| Configuration | 3 | Configuration work; for complex configurations choose a more appropriate level. |
| Pluggable part | 8 | Using existing components, services, materials or standard solutions. |
| Overseeable | 22 | You have a fairly good idea how to implement and test this. This is the anchor level. |
| Complex | 58 | Some ideas how to implement, but further research required. |
| Very Complex | 153 | You know what it is about, but a lot of research and testing is required. |
| Near impossible | 403 | You have absolutely no clue how to deal with this. |
11. How the calculation works
The ‘Overseeable’ level (22 points) is the calibration anchor. The calculation:
testing hours = implementation hours
documentation hours = (implementation hours + testing hours) × 10%
total estimate = implementation + testing + documentation
Worked example (the demo project in the screenshots):
| Work package | Final complexity | Points |
|---|---|---|
| Site preparation | Configuration | 3 |
| Supplier onboarding | Pluggable part | 8 |
| Materials delivery | Pluggable part | 8 |
| Customer handover | Overseeable | 22 |
| Final reporting | Easy Peasy | 1 |
| Total | 42 |
The reviewer entered 36 implementation hours as the anchor, so:
testing = 68.7 h
documentation = (68.7 + 68.7) × 10% ≈ 13.7 h
total estimate = 68.7 + 68.7 + 13.7 ≈ 151.1 h
The estimators’ own anchors are implementation-only and are shown in the Hour anchors table as a sanity check for the reviewer’s number. Testing and documentation are added only to the final all-in total.